The New Drawing on the Right Side of the Brain (45 page)
Read The New Drawing on the Right Side of the Brain Online
Authors: Betty Edwards

BOOK: The New Drawing on the Right Side of the Brain
7.81Mb size Format: txt, pdf, ePub

Fig. 10-16.
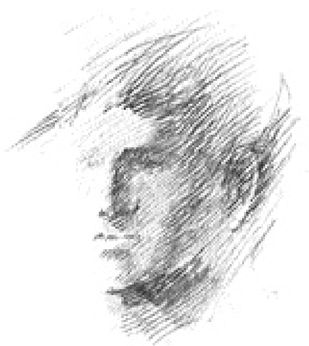
Fig. 10-17.
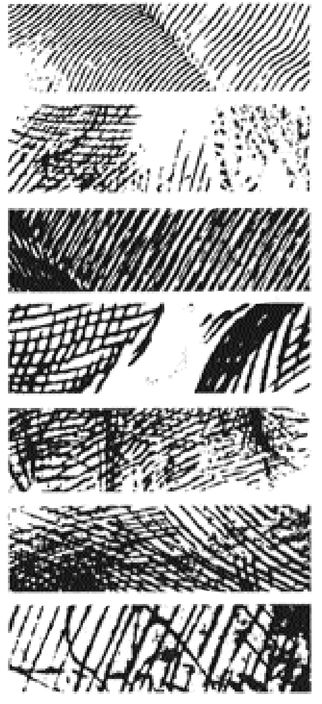
Fig. 10-18. Some examples of various styles of crosshatching.
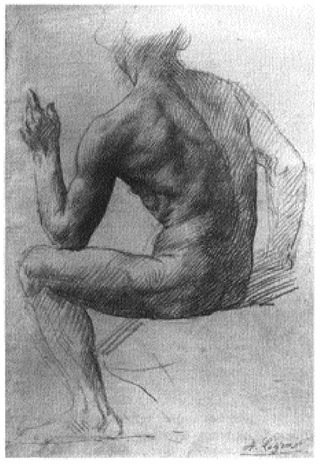
Fig. 10-19. Alphonse Legros, red chalk on paper. Courtesy of The Metropolitan Museum of Art, New York.
4. By increasing the angle of crossing, a different style of crosshatch is achieved. In Figure 10-18, see various examples of styles of hatching: full cross (hatch marks crossing at right angles), cross-contour (usually curved hatches), and hooked hatches (where a slight hook inadvertently occurs at the end of the hatch), as in the topmost example of hatching styles in Figure 10-18. There are myriad styles of hatching.
5. To increase the darkness of tone, simply pile up one set of hatches onto others, as shown in the left arm of the figure drawing by Alphonse Legros, Figure 10-19.
6. Practice, practice, practice. Instead of doodling while talking on the telephone, practice crosshatching—perhaps shading geometric forms such as spheres, or cylinders. (See the examples in Figure 10-20.) As I mentioned, crosshatching is not a naturally occurring skill for most individuals, but it can be rapidly developed with practice. I assure you that skillful, individualized use of hatching in your drawings will be gratifying to you and much admired by your viewers.
Shading into a continuous toneAreas of continuous tone are created without using the separate strokes of crosshatching. The pencil is applied in either short, overlapping movements or in elliptical movements, going from dark areas to light and back again, if necessary, to create a smooth tone. Most students have little trouble with continuous tone, although practice is usually needed for smoothly modulated tones. Charles Sheeler’s complex light/shadow drawing of the cat sleeping on a chair (Figure 10-12) superbly illustrates this technique.
Soon you will bring together all of your new skills, the basic component skills of drawing: perceptions of edges, spaces, and shapes, relationships of angles and proportions, lights and shadows, the gestalt of the thing drawn, and the skills of crosshatching and continuous tone.
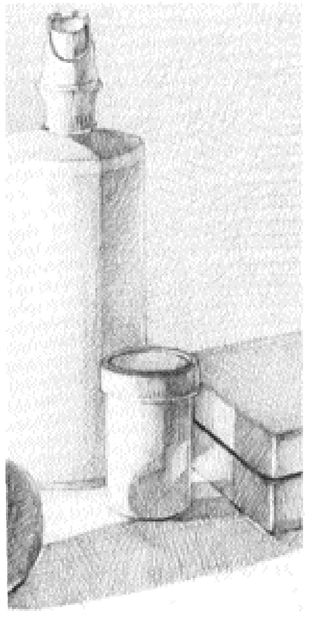
Fig. 10-20.
I believe that this training for precise perceptions is one of the great bonuses of learning to draw. One really does learn to see better through drawing, to see with greater precision and finer discrimination. I feel sure that you can extrapolate the importance of this to general thinking skills. We often describe creative intelligence as “the ability to see things clearly.”
In these lessons, we began with line drawing and we end with a fully realized drawing. The terms in the subhead above are the technical terms that describe the drawing you will do next. From this exercise onward, you will practice the five perceptual skills of drawing with constantly changing subject matter. The basic skills will soon become integrated into a global skill, and you will find yourself “just drawing.” You will shift flexibly from edges to spaces to angles and proportions, lights and shadows. Soon, the skills will be on automatic and someone watching you draw will be baffled by how you do it. I feel sure that you will find yourself seeing things differently, and I hope that, for you, as for many of my students, life will seem much richer by having learned to see and draw.
Before you start your drawing, we need to review briefly the proportions of the frontal or full-face view and the three-quarter view. You will use one of these views for your Self-Portrait.
The frontal viewKeeping this book open to the diagram on page 212, sit in front of a mirror with the book, a piece of paper, and a pencil. You are going to observe and diagram the relationships of various parts of your own head, as you go step by step through the exercise.
1. First, draw a blank (an oval shape) on your paper and draw the central axis dividing the diagram. Then, observe and measure on your own head the eye level line. It will be halfway. On the blank, draw in an eye level line. Be sure to measure to make sure you make this placement accurately.
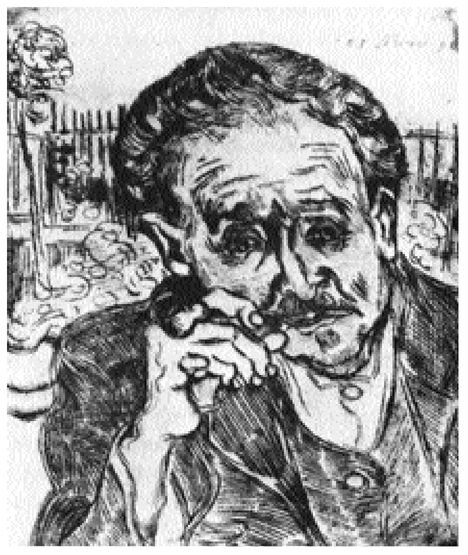
Fig. 10-21. Vincent Van Gogh (etching, 1890), B-10, 283. Courtesy of The National Gallery of Art, Washington, D.C., Rosenwald Collection. An interesting example of the expressive effect of skewed features.
2. Now, looking at your own face in the mirror, visualize a central axis that divides your face and an eye level line at a right angle to the central axis. Tip your head to one side, as in Figure 10-23. Notice that the central axis and the eye level line remain at a right angle no matter what direction you tip your head. (This is only logical, I know, but many beginners ignore this fact and skew the features as in the example in Figure 10-22.)
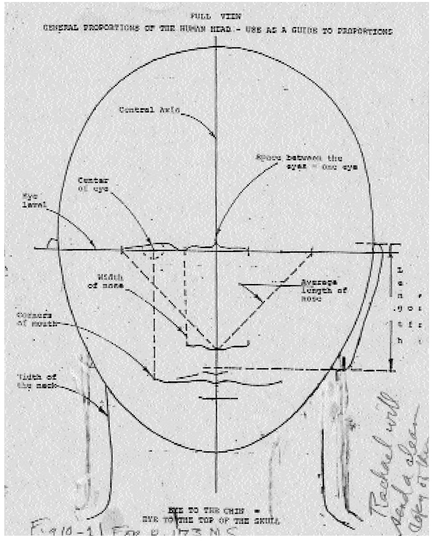
3. Observe in the mirror: What is the width of the distance between your eyes, compared to the width of one eye? Yes, it’s the width of one eye. Divide the eye level in fifths, as shown in Figure 10-24. Mark the outside corners of the eyes.
4. Observe your face in the mirror. Between eye level and chin, where is the end of the nose? This is the most variable of all the features of the human head. You can visualize an inverted triangle on your own face, with the wide points at the outside corners of your eyes and the center point at the bottom edge of your nose. This method is quite reliable. Mark the bottom edge of your nose on the blank. See Figure 10-24.
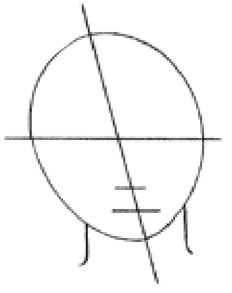
Fig. 10-22.
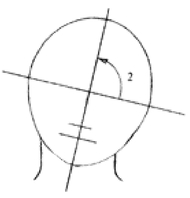
Fig. 10-23.
Fig. 10-24. The full-face view diagram. Note that this diagram is only a general guide to proportions that vary from head to head. The differences, however, are often very slight and must be carefully perceived and drawn to achieve a likeness.
Other books
So Well Remembered by James Hilton
Algo huele a podrido by Jasper Fforde
Salamina by Javier Negrete
Honeysuckle Love by S. Walden
The Six Granddaughters of Cecil Slaughter by Susan Hahn
If Not For You by Jennifer Rose
Oda a un banquero by Lindsey Davis
Zel by Donna Jo Napoli
The Taste of Penny by Jeff Parker
Someone Like You by Emma Hillman