Lights, Camera... Nude!: A Guide to Lighting the Female Nude for Photography (10 page)
Read Lights, Camera... Nude!: A Guide to Lighting the Female Nude for Photography Online
Authors: A. K. Nicholas

Photo 39: Sculpt with light
Model: Narzahni C.
Light #1
:
A monolight attached to an 84-inch silver parabolic lighting modifier, with a white diffuser (a.k.a. brolly box, or umbrella softbox).
Light #2:
A strobe head with a 7-inch reflector is covered with a sock diffuser, and a 40-degree grid. It is close to the model, producing a light circle on her body about two feet wide.
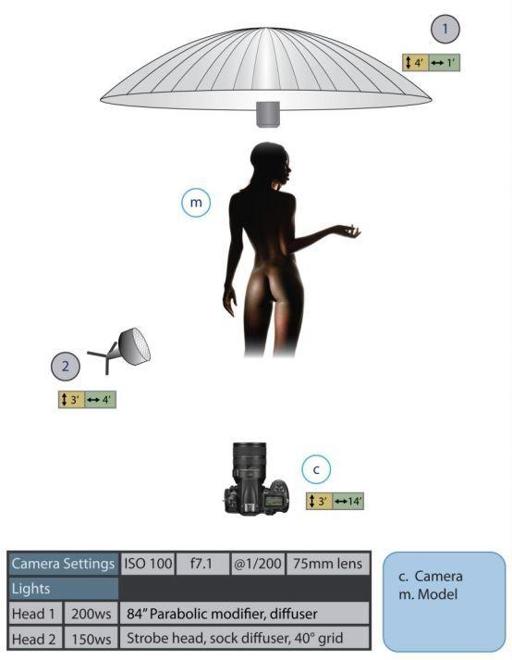
Lighting Diagram 7: Sculpt with light
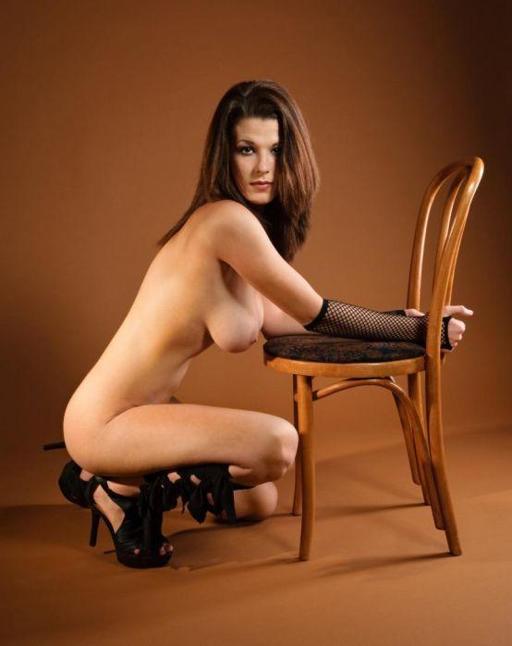
Model: Anna F.
Lighting Setup#
8
Category:
Soft light
Skill: Moderate
Light Kit:3
Heads:3
Model Zone:
Small
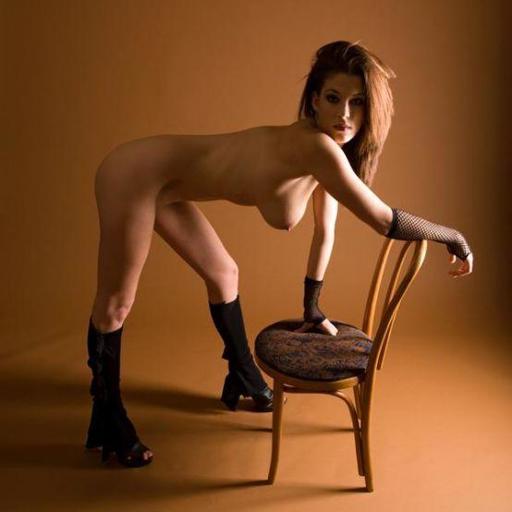
Photo 41: Beauty dish only
The photos here illustrate the different kinds of light output by various lighting modifiers.
Light #1:
“
wrong
” location
In this shot the edge lighting is too harsh because the beauty dish is in the
wrong
location (at least for this setup), 90° to the right of the model, where the softbox should be. The model’s front is in darkness because the light coming from gridded beauty dish is too restricted to spill over to her face and body.
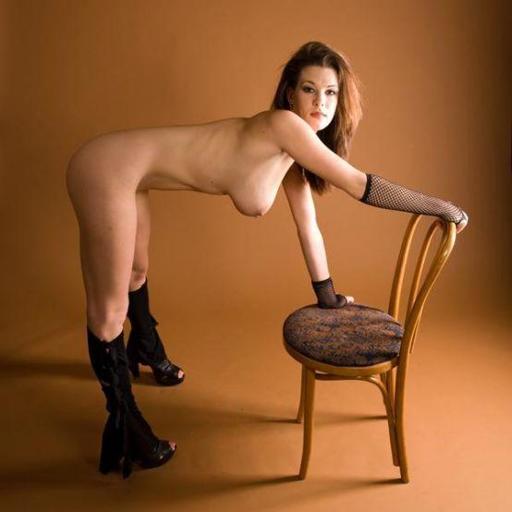
Photo 42: Striplight softbox only
Light #2
:
Compare the previous shot to this one where the beauty dish is replaced with the softbox only, 90° to the right of the model. Notice the softer, fuller lighting due to this larger diffuser.
Without a grid, the light spills over more on the model and background.
Photo 43: Beauty dish and softbox (opposite)
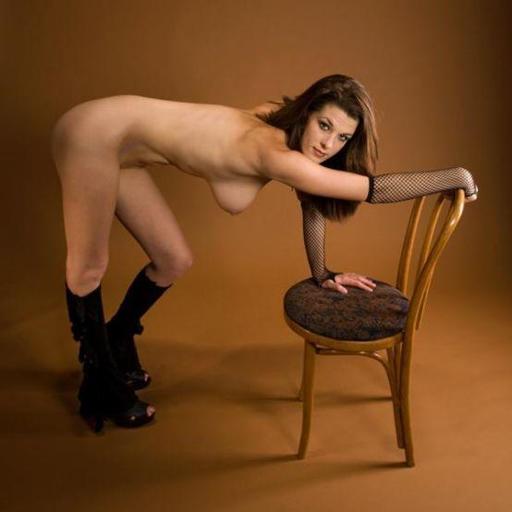
Photo 44: Softbox and beauty dish
With the softbox (#2) and beauty dish (#1) combined, the beauty dish has been moved to a 45-degree angle to the model (
see
With the softbox (#2) and beauty dish (#1) combined, the beauty dish has been moved to a 45-degree angle to the model (see Lighting Diagram 8).
).
The beauty dish is about 3 feet above the model, angled down at about 35-degrees. The softbox is as low as possible and flanked by two flags (black foam board clamped to light stands). Both lights are diffused, giving a soft effect, but the back leg is too dark.
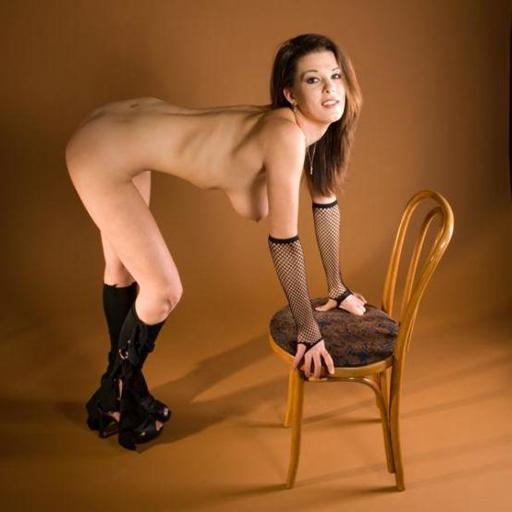
Photo 45: Softbox, beauty dish, and snoot
Light#3
:
This light adds a snoot to the model’s left and the back of the leg receives light, giving the figure definition. The shadows on the floor will give you clues as to the exact light angles.
With the snoot, a diffuser is attached to the light head at the back of the snoot.
The background remains somewhat dark due to the limits placed on the lights by the flags, grid, and snoot.
Model Zone:
The model’s zone for free movement is somewhat restricted by the light with the snoot. If the model moves too much, this light will need to be adjusted to keep it lighting her leg. The beauty dish may also need to be aimed to keep it on her face and prevent excessive overlap with the side lighting. The light pattern from the softbox will be slightly more forgiving due to the modifier’s size and the angle of this light.
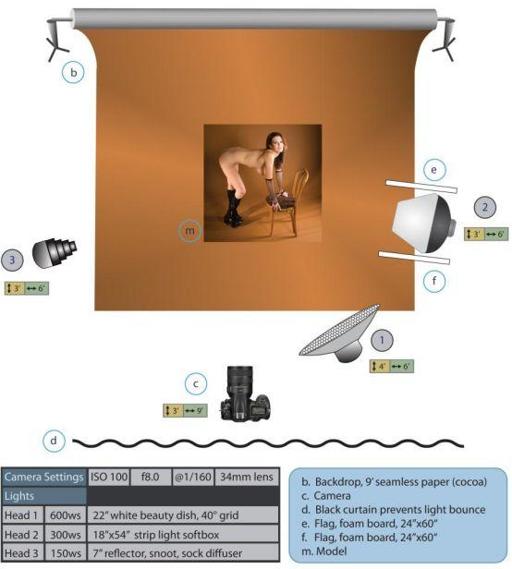
Lighting Diagram 8: Beauty dish, softbox, snoot
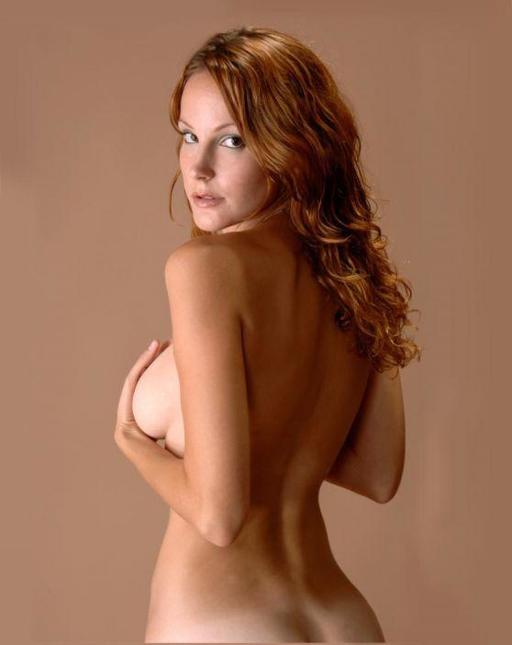
Photo 47: Boom spot
Model: Lexi W.
Lighting Setup#
9
Category:
Studio
Skill: Moderate
Light Kit:4
Heads:2+
Model Zone:
Medium
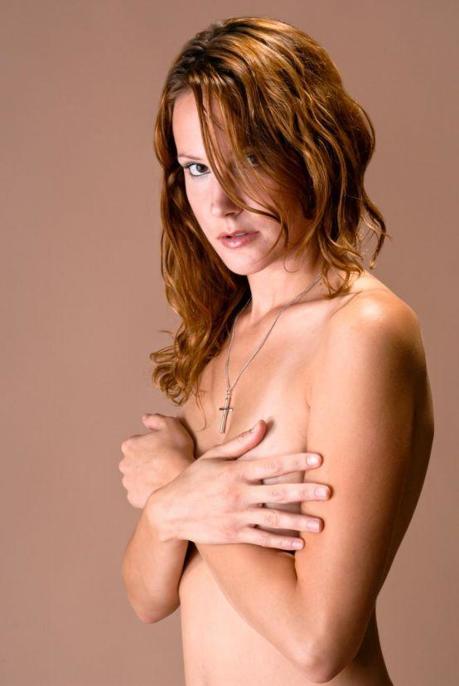
For these images, only two light sources are required.
Light #1
:
A boom arm holds the light above and behind the model, aimed at her hair and angled slightly toward the camera. A grid and barn doors on the overhead light prevents the light from spilling onto the background or hitting the camera lens.
Light #2
:
A large diffuser (a large sheet of translucent fabric) is placed to the left and slightly in front of the model. The light heads are aimed through the fabric. Diffusion material is available through photographic suppliers, or a sheet of fabric like this can be purchased at a fabric store. Fabric is easier to set up than a softbox, but the light is not as soft. You can optionally put additional light heads behind the fabric (in this case I actually used three lights totaling 450 watt seconds).