The Pink Whisk Brilliant Baking Step-by-Step Cake Making (4 page)
Read The Pink Whisk Brilliant Baking Step-by-Step Cake Making Online
Authors: Ruth Clemens

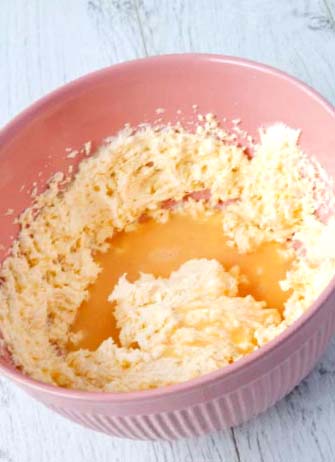
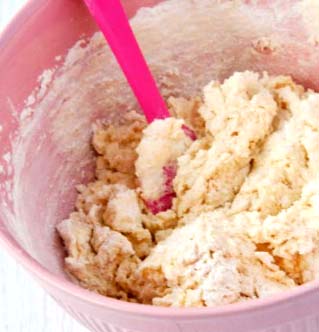
6 Now comes the flour. Prepare to be shocked: I don’t sift it! I’ve found it makes little to no difference in the finished result. However, if your flour has been sitting in the cupboard for a fair while and is looking lumpy, it will need sifting in. Set aside the electric mixer and add the flour to the butter, sugar and egg mixture in the bowl. Using a thin edged spatula or a metal spoon fold in the flour, cutting through the mixture, lifting and turning it until all of the flour is incorporated. Add the milk and stir through.
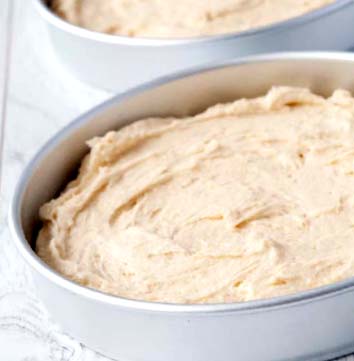
7 Divide the mixture evenly between the two tins and roughly level with the back of spoon. Try to avoid getting mixture up the sides of the tins if you can as this can give the finished cakes a little raised lip.
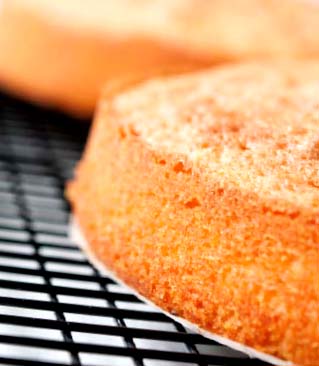
8 Bake in the oven for 25–30 minutes until golden brown and when pressed lightly on the top the cakes spring back up. Allow to cool in the tins for 5 minutes before removing and cooling fully on a wire rack. If left in tins to cool completely cakes will ‘sweat’ and become soggy. It’s fine to leave the paper on the bases as they cool.
TIP
Turn out onto a plate first and then onto a cooling rack so that they go onto the cooling rack base down, otherwise you’ll end up with criss cross marks across the top of your cake.
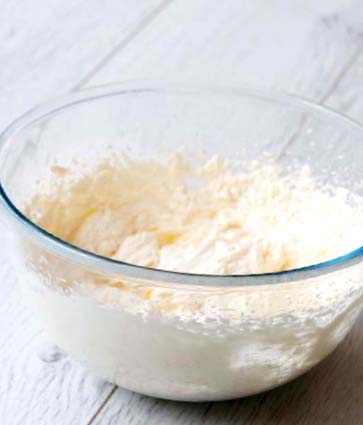
9 Once fully cooled it’s time to assemble the cake. Place the cream, icing sugar and vanilla bean paste in a large bowl. Whisk until the cream forms soft peaks. Set to one side.
10 Remove the paper from the base of each cake and choose which will be the top, setting this one to one side. Place the base cake onto a serving plate and cover with a generous layer of raspberry jam. Don’t take the jam right up to the edge of the cake, but about 1cm (
3
⁄
8
in) away from the edge all the way round.
11 To form the rosettes of cream peeking out between the layers you’ll need to use a piping bag fitted with a round open nozzle, but spreading it on will do just as well if you prefer. Pipe small rounds of cream, or spread generous dollops, all around the inside of the jam circle, again keeping 1cm (
3
⁄
8
in) away from the edge. The weight of the cream will start push the jam out towards the edge. Fill in the rosettes with the remaining cream, piping on and spreading out gently with a palette knife.

12 Carefully lift the top of the cake into position. The weight of it will squidge out the jam and cream so that it just sits at the edge of the cake. Dust with a little icing sugar and ta dah! Perfect Victoria sponge.
TIP
Not feeling quite so lavish? Skip the cream and go with the jam!
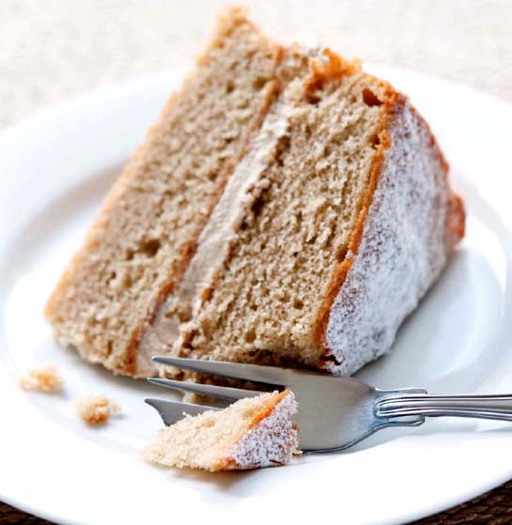
Coffee-Flavoured Victoria Sponge
Flavouring plain cakes is extremely easy with the wealth of extracts that can be bought in the supermarket, or by using dissolved coffee granules as here. Always add your flavouring to the creamed butter and sugar – the fat traps the flavour and distributes it evenly throughout your cake.
Makes one 20cm (8in) cake
Prep: 25 minutes plus cooling
Bake: 30 minutes
Oven:160°c (fan)/180°c/350°F/Gas Mark 4
TIP
To make your own flavoured sugar take a jar with a tight-fitting lid and fill it three quarters full of caster sugar. Add cinnamon sticks, a tablespoon of dried lavender or cardamom pods. Screw on the lid and shake it up. Allow to infuse in the cupboard for two weeks before using in your cakes.
Ingredients
Cake
250g (9oz) very soft butter, plus a little extra for greasing
250g (9oz) caster (superfine) sugar
1 tsp instant coffee, dissolved in 2 tbsp boiling water
4 eggs, large
250g (9oz) self-raising (-rising) flour
Filling
200ml (7fl oz) double (heavy) cream
2 tbsp icing (confectioners) sugar
1 tsp instant coffee, dissolved in 2tbsp boiling water
A little icing (confectioners) sugar to dust
Equipment
2 × 20cm (8in) round sandwich tins (layer cake pans)
Baking (parchment) paper
Electric hand-held whisk or food mixer
Piping bag fitted with 1cm (
3
⁄
8
in) round nozzle (optional)
Icing sugar sifter
1 Follow the same method as Victoria Sponge, but omit the vanilla extract and add the coffee flavouring (1 tsp instant coffee dissolved in 2 tbsp boiling water) by whisking it into the creamed butter and sugar, before adding the eggs.
2 For the filling make yourself some coffee cream by placing all the filling ingredients in a bowl and whisking to soft peaks. Use just as the cream in the Victoria Sponge recipe.
Cherry Madeira
Finally a recipe that doesn’t have all the cherries sunk at the bottom of the cake – because they are cut into quarters first. Once you’re slicing this beauty not a single person will say the pieces of cherry aren’t big enough (however, when someone asks for ‘that cake with all the cherries at the bottom’ feel free to give them a clip round the ear!).
Makes one 900g (2lb) loaf cake
Prep: 30 minutes plus cooling
Bake: 50 minutes
Oven: 160°c (fan)/180°c/350°F/Gas Mark 4
Ingredients
Cake
250g (9oz) glacé (candied) cherries
150ml (5fl oz) beaten eggs (3 medium)
150g (5
1
⁄
2
oz) butter, softened
150g (5
1
⁄
2
oz) caster (superfine) sugar
130g (4
1
⁄
2
oz) plain (all-purpose) flour
50g (1
3
⁄
4
oz) self-raising (-rising) flour
1
1
⁄
2
tsp vanilla extract
To decorate
50g (1
3
⁄
4
oz) icing (confectioners) sugar, sifted
1–2 tsp hot water
Equipment