DIY Projects for the Self-Sufficient Homeowner: 25 Ways to Build a Self-Reliant Lifestyle (14 page)
Authors: Betsy Matheson
Tags: #Non-Fiction

If the frame is permanently sited, position it facing south to receive maximum light during winter and spring and to offer protection from wind. Partially burying it takes advantage of the insulation from the earth, but it also can cause water to collect and the direct soil contact will shorten the lifespan of the wood frame parts. Locating your frame near a wall, rock, or building adds additional insulation and protection from the elements.
TIP:
The ideal temperature inside is 65 to 75° F during the day and 55 to 65° at night. Keep an inexpensive thermometer in a shaded spot inside the frame for quick
reference. A bright spring day can heat a cold frame to as warm as 100°, so prop up or remove the cover as necessary to prevent overheating. And remember, the more you vent, the more you should water. On cold nights, especially when frost is predicted, cover the box with burlap, old quilts, or leaves to keep it warm inside.
A cold frame
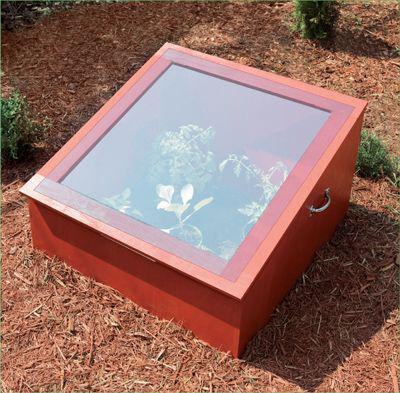
should only be used during the early, cooler days of the growing season when delicate seedlings need that extra protection, and for late-season frost protection. Once the warmer weather arrives and the plants are established, remove and relocate the cold frame. Ongoing usage will overheat and kill the plants. And while the clear acrylic lid on this cold frame is desirable because it is safer to work with and use than glass, too much heat buildup can cause the acrylic to warp.
Building a Cold Frame
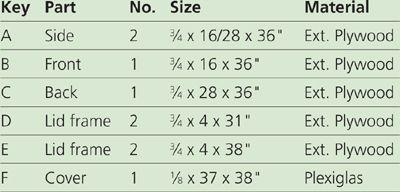
CUTTING LIST
TOOLS AND MATERIALS
(2) 3 × 3" butt hinges (ext.)
(2) 4" utility handles
(4) Corner L-brackets (3/4 × 2-1/2")
(1) 3/4" × 4 × 8 ft. Plywood (Ext.)
1/8 × 37 × 38" clear Plexiglas
Exterior caulk/adhesive
Exterior wood glue
Exterior paint
2" deck screws
#8 × 3/4" wood screws
Circular saw
Drill/driver
Pipe clamps
Straightedge cutting guide
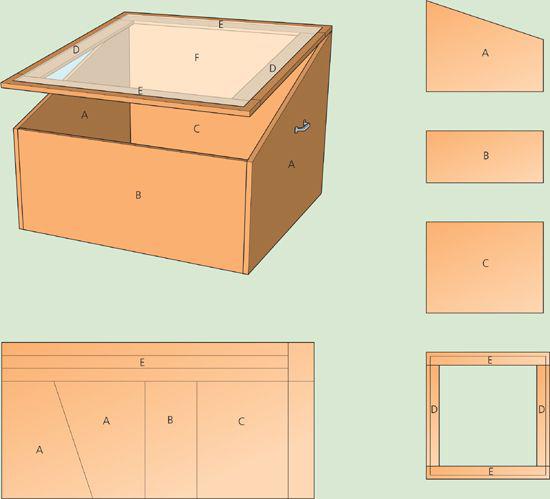
How to Build a Plywood Cold Frame
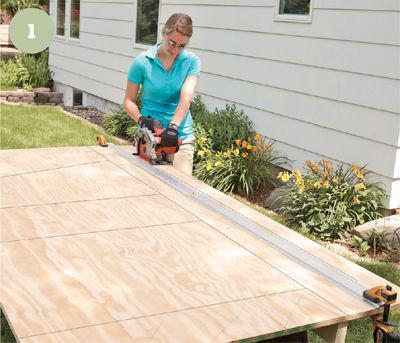
1 Cut the parts.
This project, as dimensioned, is designed to be made entirely from a single 4 × 8 sheet of plywood. Start by cutting the plywood lengthwise to make a 36"-wide piece.
TIP:
Remove material in 4" wide strips and use the strips to make the lid frame parts and any other trim you may want to add.
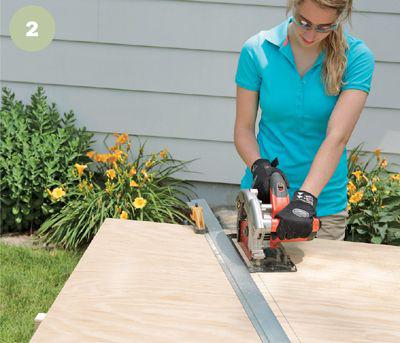
2 Trim the parts
to size with a circular saw or jigsaw and cutting guide. Mark the cutting lines first (See Diagram, p. 51).
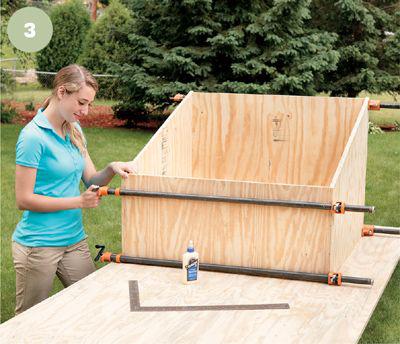
3 Assemble the front,
back, and side panels into a square box. Glue the joints and clamp them together with pipe or bar clamps. Adjust until the corners are square.
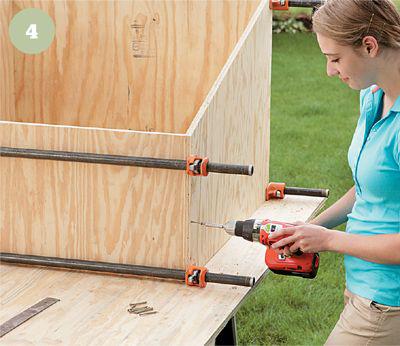
4 Reinforce the joints
with 2" deck screws driven through countersunk pilot holes. Drive a screw every 4 to 6" along each joint.

5 Make the lid frame.
Cut the 4"-wide strips of 3/4" plywood reserved from step 1 into frame parts. Assemble the frame parts into a square 38 × 39" frame. There are many ways to join the parts so they create a flat frame. Because the Plexiglas cover will give the lid some rigidity, simply gluing the joints and reinforcing with an L-bracket at each inside corner is adequate structurally.
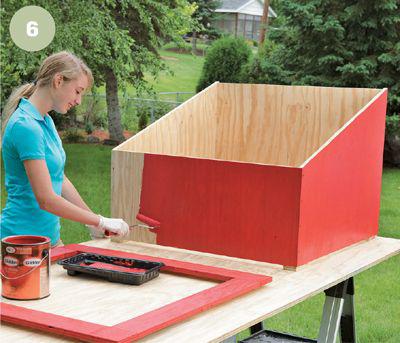
6 Paint the box
and the frame with exterior paint, preferably in an enamel finish. A darker color will hold more solar heat.
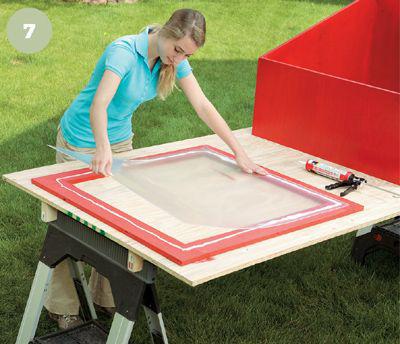
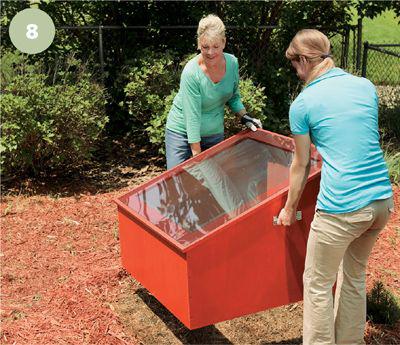
7 Lay thick beads
of clear exterior adhesive/caulk onto the tops of the frames and then seat the Plexiglas cover into the adhesive. Clean up squeeze-out right away. Once the adhesive has set, attach the lid with butt hinges and attach the handles to the sides.