Sew What! Bags: 18 Pattern-Free Projects You Can Customize to Fit Your Needs (26 page)
Read Sew What! Bags: 18 Pattern-Free Projects You Can Customize to Fit Your Needs Online
Authors: Lexie Barnes

CUT YOUR FABRIC

1.
DECIDE YOUR SIZE
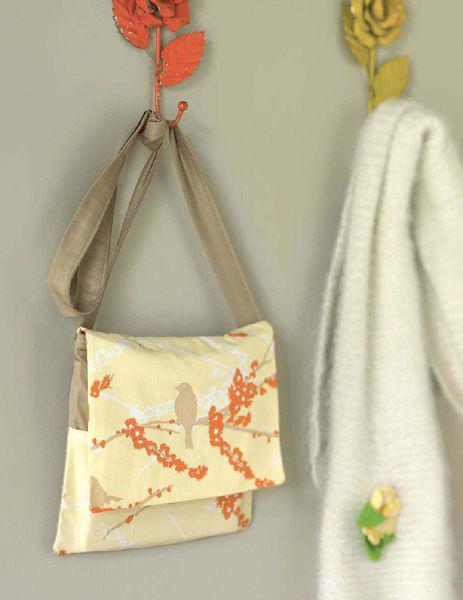
. The main compartment is a nice pouch for holding stuff like yarn or clothespins. The front pockets allow easy access to essentials. Figure out what size bag you want to make and how long your straps will be.
2.
CUT YOUR FABRIC
. Draw the pieces on the wrong side of the fabric and cut out the following:

from primary fabric: two bottom pieces and one strap (optional: cut a 1½" × 32" strip for a drawstring)
3.
MAKE THE POCKET PANEL
. Press under the top of the pocket panel ¼", then repeat for another ¼". Edgestitch the bottom fold. With the right sides facing out, pin the pocket to a bottom piece. Stitch the sides and compartments as desired, backtacking at the top edge of the pocket.

4.
ATTACH THE TOP AND BOTTOM PIECES
With right sides together, stitch each top panel to a bottom piece. Flip up each top section to extend the bag fully, and press.
5.
MAKE THE STRAP
. Fold the strap fabric in half lengthwise and press. Stitch the long side. (
See page
42
.) Trim the excess seam allowance and
turn the strap right side out. Press. If you like, edgestitch on both sides of the strap, but since ours is a lightweight bag, we skipped that step.
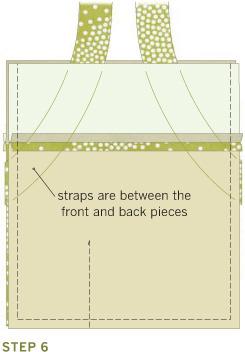
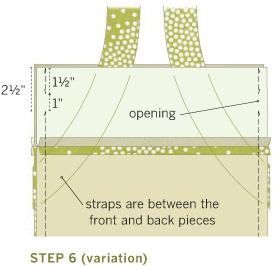
6.
ATTACH THE STRAP
Cut the ends of the strap at an angle and pin them to the sides of the right side of the back of the bag (at the top of the bottom piece) as shown. Lay the front side of the bag on top; the strap ends will be sandwiched between the front and back pieces. Stitch the sides and bottom of the bag, stopping 2½" short at the top of one side and backtacking. Leave a 1" opening and then stitch to the top edge, backtacking on both ends. Clip the corners and trim the seam allowance.
DRAWSTRING VARIATION
If you want the drawstring to extend on both sides, stop short by 2½" and leave a 1" opening on both sides when stitching in step 6. When you make the casing, you’ll have an opening on both sides of the bag.
CHAPTER7.
MAKE THE CASING
. Press under the top edge of the bag ½", and then repeat for under another 1". Edgestitch along the first fold. (
See page
44
.) Use ribbon or cording for a drawstring, or make your own from fabric. (
See page
45
). Use a safety pin to thread the drawstring through the opening on one side. Tie the two ends together with a knot.
6
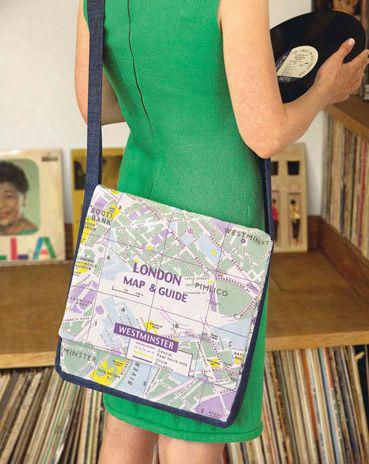
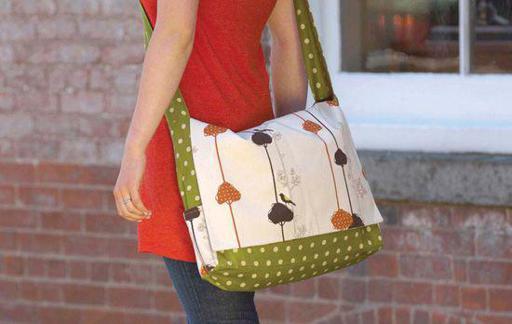
Messenger Bags
FOR SCHOOL, WORK, CITY LIVING, OR TRAVEL —
the messenger bag can’t be beat. It’s an easy shape to work with, and can be lined or unlined. You can customize the pocket configurations in a million different ways!